Showing posts with label preserving. Show all posts

Saturday, March 22, 2014

Chutney x A LOT

A few weeks ago when we went to the market, our mango people told us that was their last week for the season. So we bought double our usual and went home to make chutney. This wasn't something we had really thought through very carefully, the results of which I will reveal as I go through my chutney tale.

In the past we have used a chutney recipe that requires soaking overnight. This was Sunday morning and we had to work on Monday, so that wasn't going to work. I did a quick search, and found a recipe from Not Quite Nigella that looked do-able, so we used that as our guide.

Her recipe called for 1 kilo of mango flesh, or about 2 large mangoes. We obviously wanted to make a larger batch to use up plenty of mangoes, so we started cutting and scooping them into a bowl on the scale. About 15 mangoes later, we were at 3 kilos - so I think the original estimate of 2 mangoes = 1 kilo of flesh is just not right.

We put the firmest mango cheeks through the shredder blade on the food processor, and chopped up the softer, riper cheeks. We popped this all into our big stockpot, and then realised we had almost no space for anything else. Wah-wahhh.

And because we tripled the recipe, we had nowhere near enough brown sugar, or raisins. We had no onions. We scraped in with just enough cider vinegar. But we realised that Andy would need to go to the shops. He had wanted to run to Bunnings for some seeds anyways, so, perfect.

Because I was expecting Andy back in about 30 minutes, I put everything that we had into a bowl and mixed it all up. Then I put it into two pots to start to simmer, to allow the sugar which we did have to dissolve a bit. Then I cleaned up - chopped up the mango skins so they would compost a bit quicker, gave a few of the seeds to Tika, who loves to suck the flesh off them, and wiped so much mango juice off of every surface. I even did all the dishes.

Mango chutney in progress

Over an hour later, I was beginning to wonder if Andy got lost or sucked into some sort of space-time vortex. He sort of did - in Townsville on Sundays, shops don't open until 11am, and he left the house a touch before 10. So although he spent plenty of time in Bunnings, he still had to wait outside the grocery store for it to open.

But eventually he did make it home. By that time the chutney had simmered down enough to fit back into the one pot. We added the onions and the last few bits and pieces, plus a whack of chilli sauce because it was so sweet, cooked it properly, and then got ready to can it.

Day 8 - 9 litres of chutney

We ended up with 13 and a half jars of this stuff - about 9 litres worth of chutney. The full ones we processed properly and put them away to last us throughout the year. But for dinner that night it seemed appropriate to have the little half jar with some curry.

I made chappatis, sag paneer (spinach and tofu curry), and we had some leftover dhal, with brown rice and, at the front, our chutney.

Chutney dinner

Sure, it was an epic process, but the memories of scooping 15 mangoes, stirring a simmering pot of chutney, and cleaning up all the sticky mess will fade as we enjoy our spoils for the next few months!

Saturday, March 16, 2013

Queensland Jam

Rosellas are a type of parrot. They are also a type of hibiscus flower. This post is about making food from one of these. Can you guess which one? 

We get monthly "what to plant" emails from the website Gardenate.com, and throughout the summer they got a bit sad. November: Plant basils, sweet potato, rosellas. December: Plant basils, rosellas. January: Plant rosellas. We're back into more diverse planting season at the moment, but we're also in the midst of the rosella harvest.

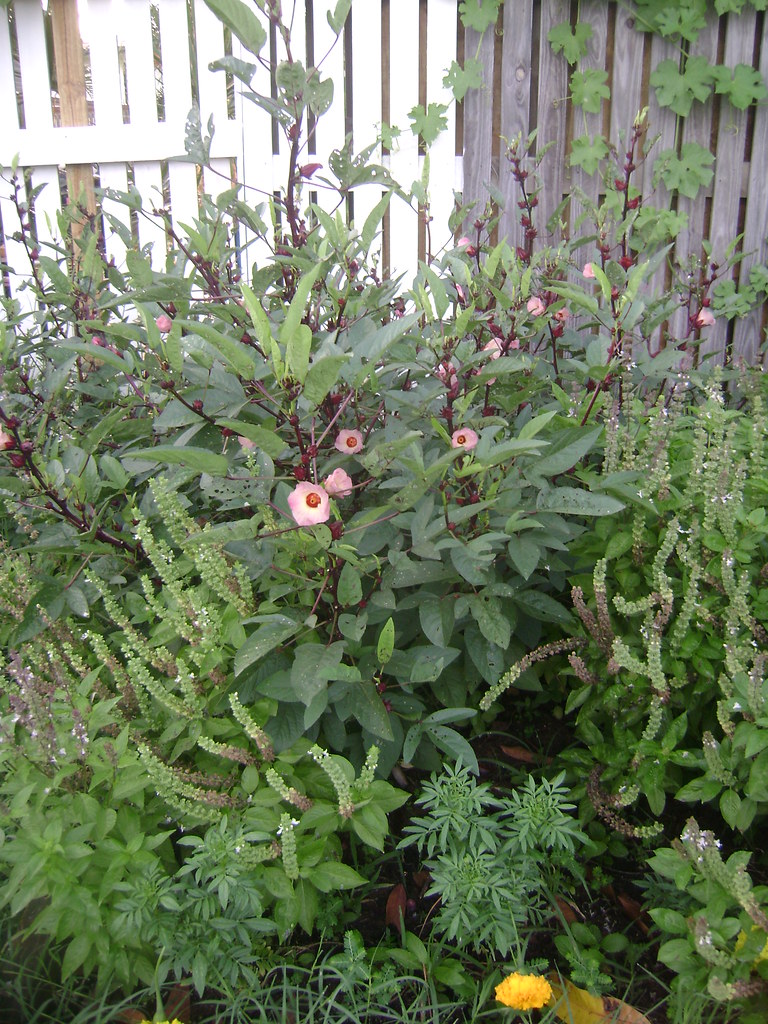
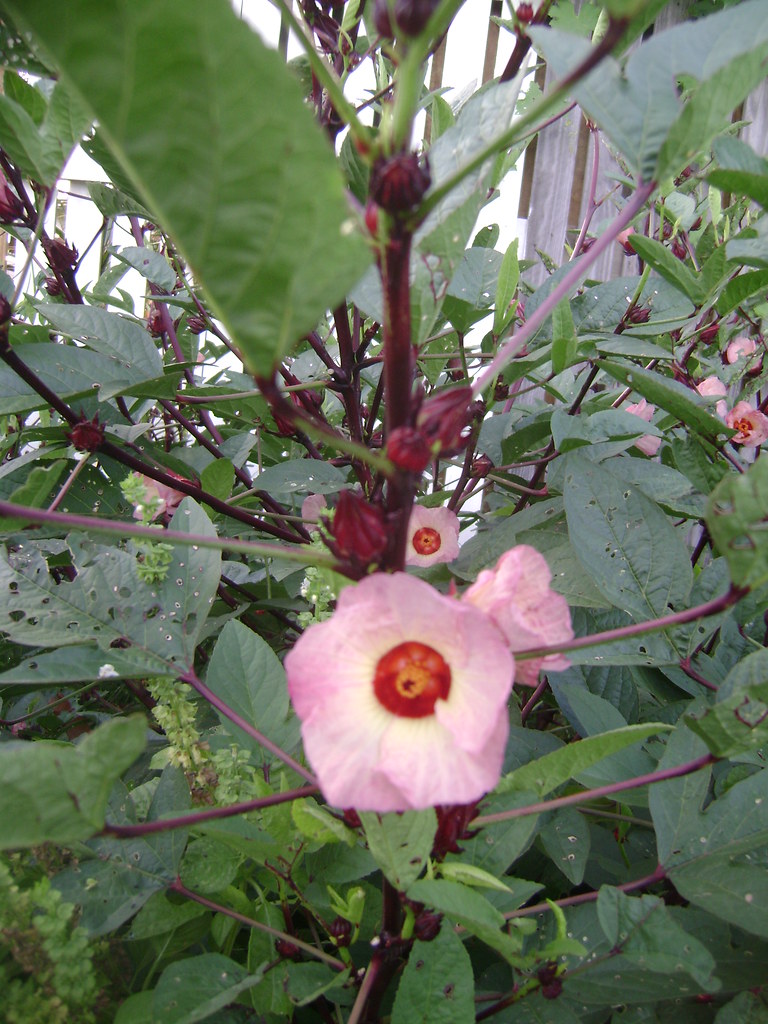
We have 6 rosella plants in our garden, and they are a very lovely plant, I think. They are all at different stages of development, and some took a while to become productive.

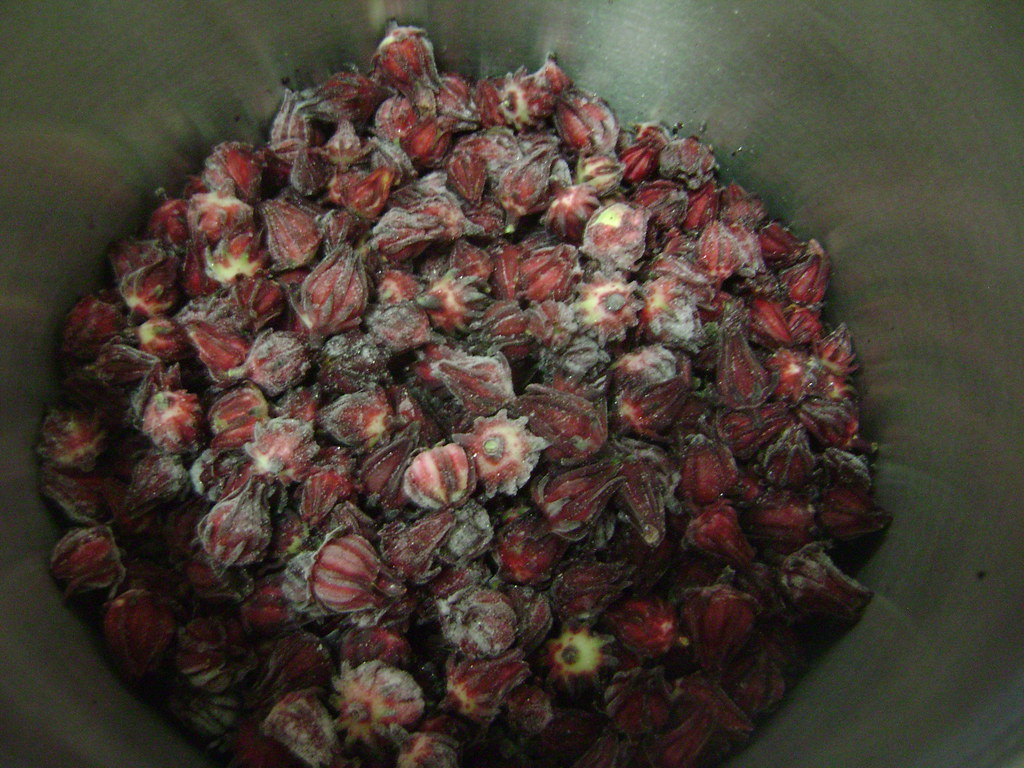
After the flower opens, the petals fall off and a red bud-like calyx forms, sort of like a rose hip. This calyx is actually what you harvest. The red "petioles" around the calyx are super tart, and can be turned into jam, cordial, syrup, and those kinds of things. They are also dried and turned into tea - most famously, Celestial Seasons Red Zinger tea, but usually they are an ingredient in most commercial lemon-flavoured teas. Or if the seed pod is removed intact, they are poached and sold for an awful lot of money as "blooming" flowers to add to a glass of champagne. 

We've been harvesting, slowly at first, since December. I made a tiny batch of cordial at christmastime, and I think I will do some again because it would make really nice cocktails.

But most of the harvest has gone into the freezer, waiting for a big enough batch to make jam. This is the most popular use, it seems, of rosellas, which are also known as the "Queensland Jam Plant" - which begs the question, if you refer to them as the Queensland Jam Plant, what do you call the jam? Queensland Jam Plant Jam? Queensland Jam? 

Linguistic conundrums aside, two weekends ago we had a full freezer bag, plus a big bowl full of fresh calyxes to work with. Let the jam making begin! I used this blog post as my guide (but ended up using far less sugar).

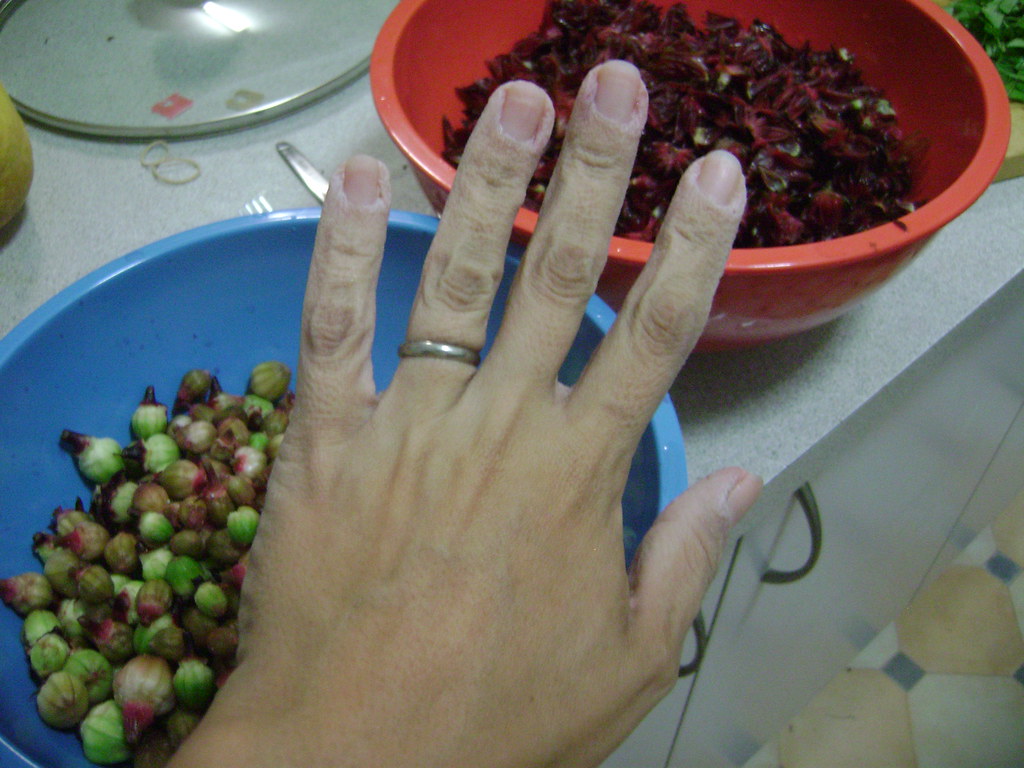
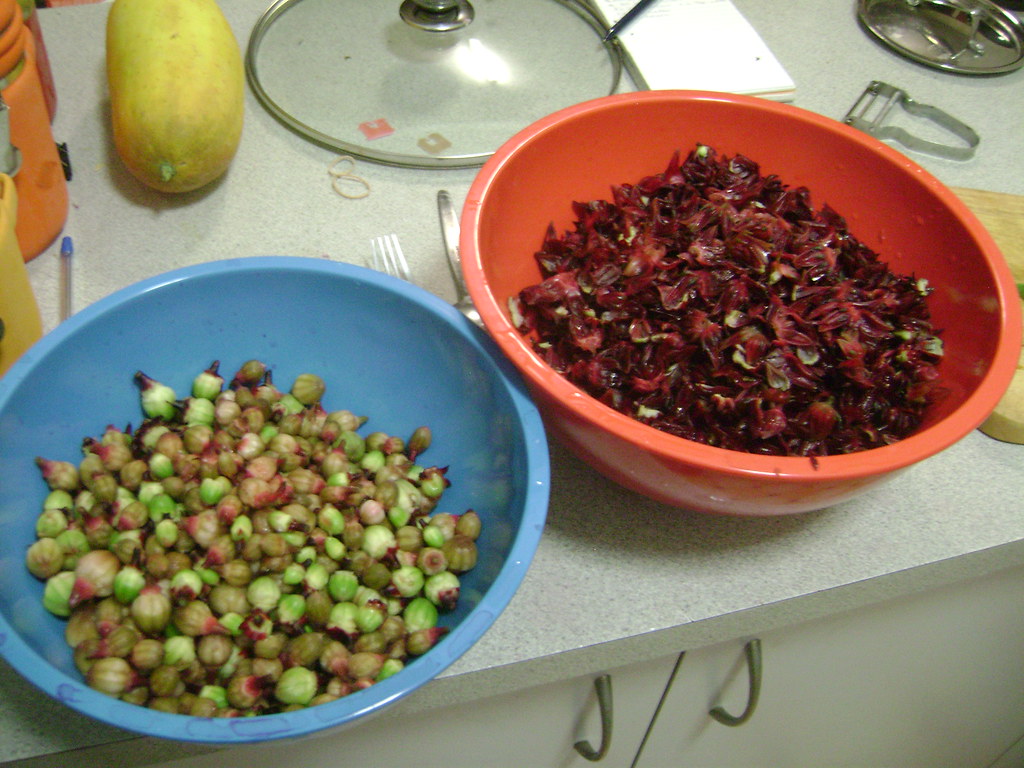
Step 1: separate the red petioles from the green seed pod. I put my frozen and fresh calyxes in a big pot with water, to wash off the bugs, crusty old petals, etc. 

Then I spent the next three hours (I kid you not) peeling them apart. It was a lot of work. The pre-frozen calyxes were actually much easier to separate - they peeled away in one quick move. For my next batch, I will definitely freeze them all before working with them. I will also do a better job of washing the calyxes before they go in the freezer, so I don't need to have them in a bucket of water to process. Seriously, my hands have never in my whole life been so wrinkly.

By 7pm on Saturday I had a sore back, wrinkly hands, a bowl full of seedpods and a bowl full of calyxes. I put the rosella-bits into the fridge till the next day.

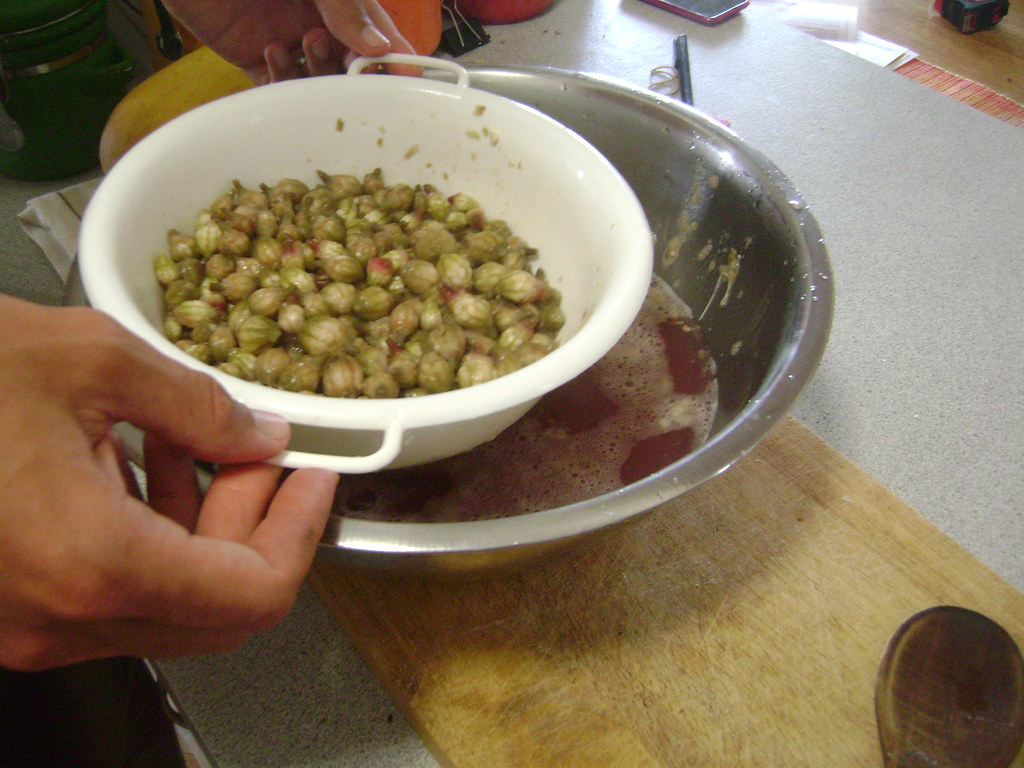
Put the seed pods into a pot. Cover them with water. Bring it up to the boil, and let it go for about 20 minutes. My jam, in the end, wasn't as set as I would like. I have heard that cutting the seed pods in half is a better way to release the pectin. Probably easier would be to sort of smash them in the water as it is coming up to the boil. I'll let you know if it works better the next time around. After the seed pods have cooked, strain them off. Compost the pods, save the liquid.

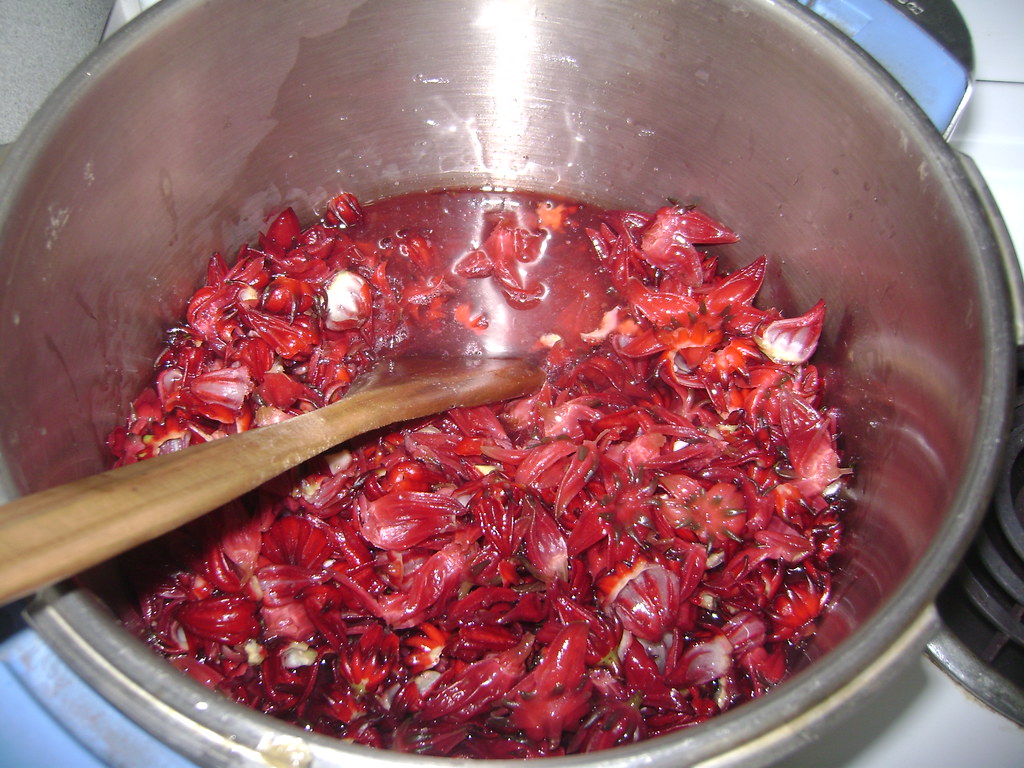
Rinse the jam pot out with clean water. Add the red petioles, and the seed pod-cooking liquid. Bring them up to a boil and let them cook until the petioles have gone mushy. This didn't take too long, once the boil got rolling - maybe 5 or 10 minutes. 

Turn the heat down to very low. Let the jam mix cool slightly. Add sugar. I used about 1 2/3 cups of raw sugar, in about 5 cups of jam mixture. This seems like much less than most recipes call for, which could account for the lack of proper-set. But it tasted good - still lovely and tart, but not face-squeezy. Dissolve the sugar gently into the jam while you taste to see if it needs any more.

Once the sugar is dissolved, bring it back up to a rolling boil. Let it cook like that for 30 minutes (sorry, raw foodies, you'll have to look elsewhere). Set a timer, get a book, turn on the fan in the kitchen and stir it pretty near constantly for the whole time. When the 30 minutes is up, you test for set. It's probably best that I don't give advice on this aspect, because I failed. I put my jam on a cold plate in the freezer, but found it hard to determine if it was gelly because of the rosella-bits. So I just thought, schmeh, and we bottled it up.

A lot of people talk about alternative methods for sealing jam jars - popping them upside down while they cool, putting them in the oven, etc. But I've read things that make me nervous about breaking the Preserving Rules, so we got a gigantic pot to boil our jam jars to properly seal them.

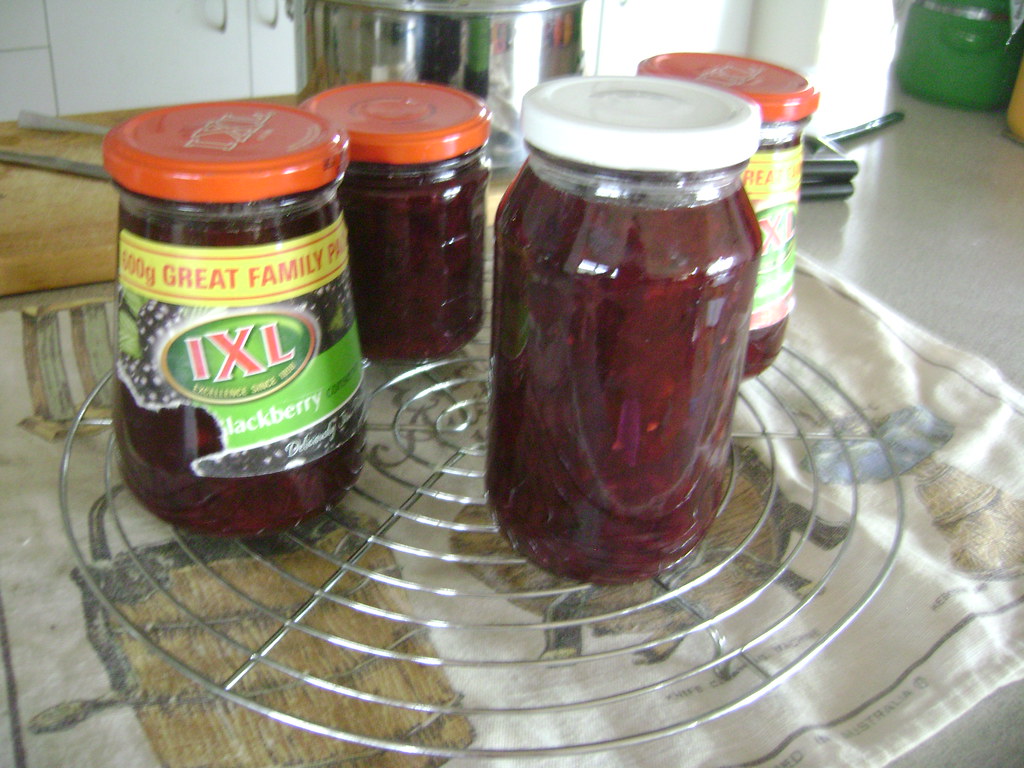
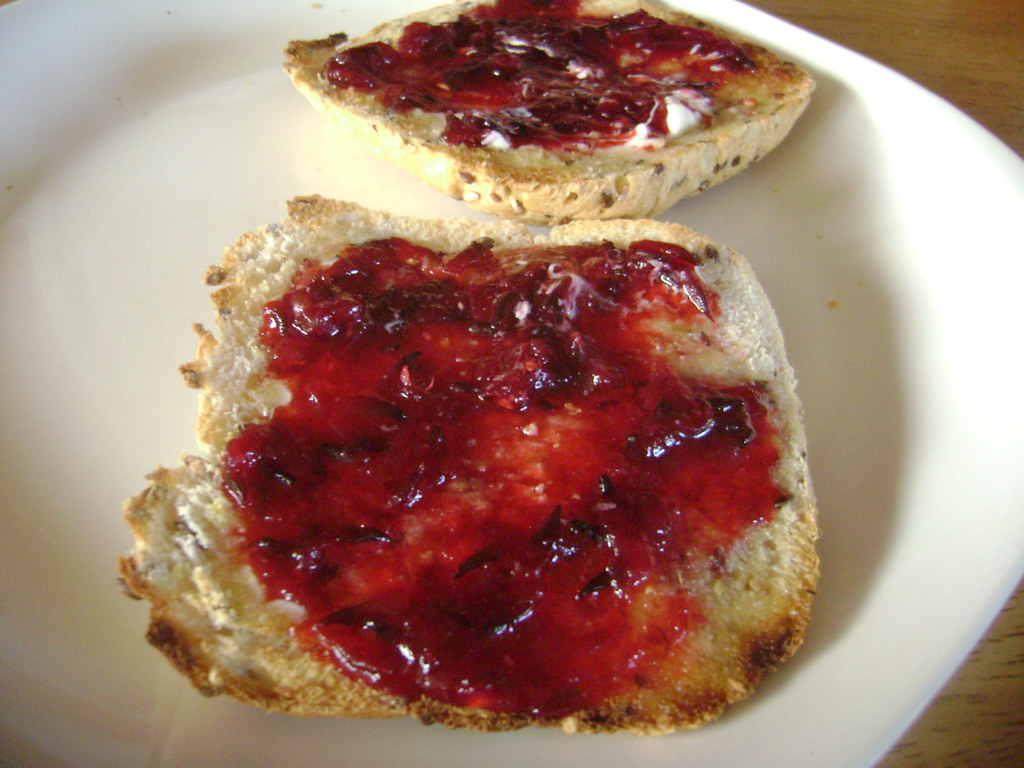
We got four jars, which all sealed properly. When I opened one and found the jam was runny instead of gel-tastic, I was a little disappointed, but then I tasted it. And it tasted really, really yummy. And, because of all the rosella chunks, it is still fine to have on toast - didn't run off!

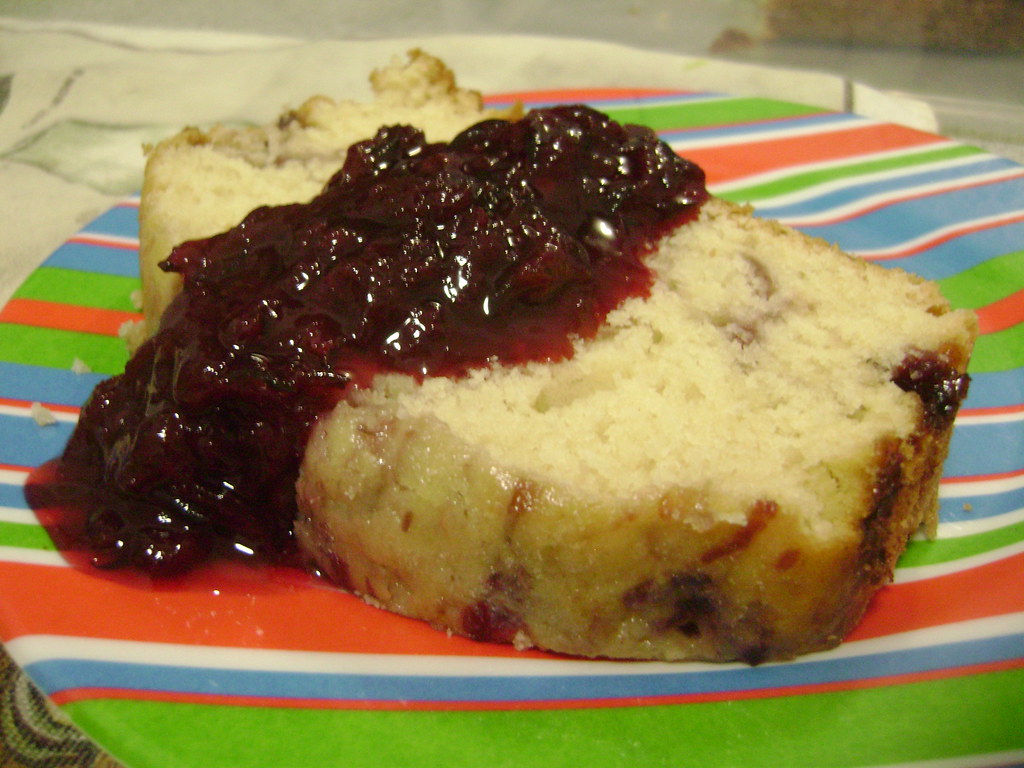
But, what better to do with runny jam than put it into baked goods? I used the recipe for Raspberry Swirl Pound Cake from Urban Vegan, using (obviously) rosella jam in place of raspberry. 

It was even more delicious with another spoonful of jam on top! 

Luckily, we still have 3+ jars of jam, a freezer bag and a half of calyxes, and 6 still-productive plants, because I have falled head over heels for this stuff!

(PS - I made jam out of the hibiscus flower, not the parrot.)

Sunday, December 30, 2012

Mango Chutney

What do you do when you have three trays of ripe or quickly ripening mangoes on hand? Well, there are lots of options - eating them straight up, pancakes, cakes, jam, salsa, smoothies.... But if you want to spread the mango love across the year, preserving them in one way or another is a good idea. Drying them, either straight up or as fruit rolls, is one option. Or you can turn a bunch into chutney, to spice up drab meals and accompany Indian curries all year long.

Andy and I have made a few batches of this chutney recipe, but have found it, at various times, too spicy, or too vinegary, so have modified it a bit and come up with a configuration we quite like. Andy bought a starter canning kit from Green Living Australia, so this year we could make a very big batch (or several) and keep them in the pantry - in years past we have been limited by refrigerator space.

Mango Chutney
10 ripe mangoes
1 onion, finely diced
4 cups of vinegar
1 cup of dried fruit (Andy used dried mixed fruit, with the cherries picked out, which was actually better than I expected. The citrus peel gives it a bit of zing every few bites)
1 chilli, minced
2 Tbsp. fresh grated ginger

Cut the cheeks off each mango. Score each cheek into fairly small squares, and then scoop the fruit out with a spoon. Put all the fruit from the cheeks into a very large, non-reactive bowl. Peel each seed. Cut the flesh from the seeds and put into a separate smaller bowl, or a jug, or a blender. Blend this up and then mix it with the diced fruit.

Put the diced onion into a jug and cover with boiling water. Let this sit for a few minutes and then drain the water and add the onion to the bowl (I do this because I find the raw onion a bit bitey. If you like raw onion, skip this step). Then mix in the vinegar, dried fruit, chilli and ginger. Cover this and let it soak overnight at room temperature. We stuck ours in the oven, so it was out of the way. 

The next day, put the mango mixture into a very big pot with:

2 and 2/3 cups of sugar

Heat this over low heat until the sugar dissolves, then add:

4 tsp. salt
2 tsp. cinnamon
2 tsp. mixed spice
2 tsp. ground ginger
4 cloves of garlic, minced
chilli powder to taste, if you want it spicier.

Bring this up to the boil and then lower the heat down to a simmer. Cook the chutney for about 1 hour and 15 minutes, until it has thickened up.

If you are canning these, put the clean jars and new lids into a big canning pot filled with hot water (with a trivet or something in the bottom) and bring them up to a simmer, then turn the heat off and leave it on the stove. Do this about 20 or 25 minutes before the chutney is finished cooking. When the chutney is nearly done, remove the jars from the pot. Using jar tongs, shake out the extra water and then place them onto a tea towel.

Fill each jar, and then clean the rim of the jar with a damp cloth. Remove the lids from the hot water with a fancy magnetic lid wand thingie, and seal each jar up tightly. Put the full jars back into the hot water, ensuring they are submerged by about an inch, and bring it back up to the boil. Boil for 10 minutes, cool a bit, and then removed the jars and let stand at room temperature until they are fully cooled and have sealed.